When to Seal Concrete: A Wake County, NC Homeowner's Timing Guide

Updated: Aug 12
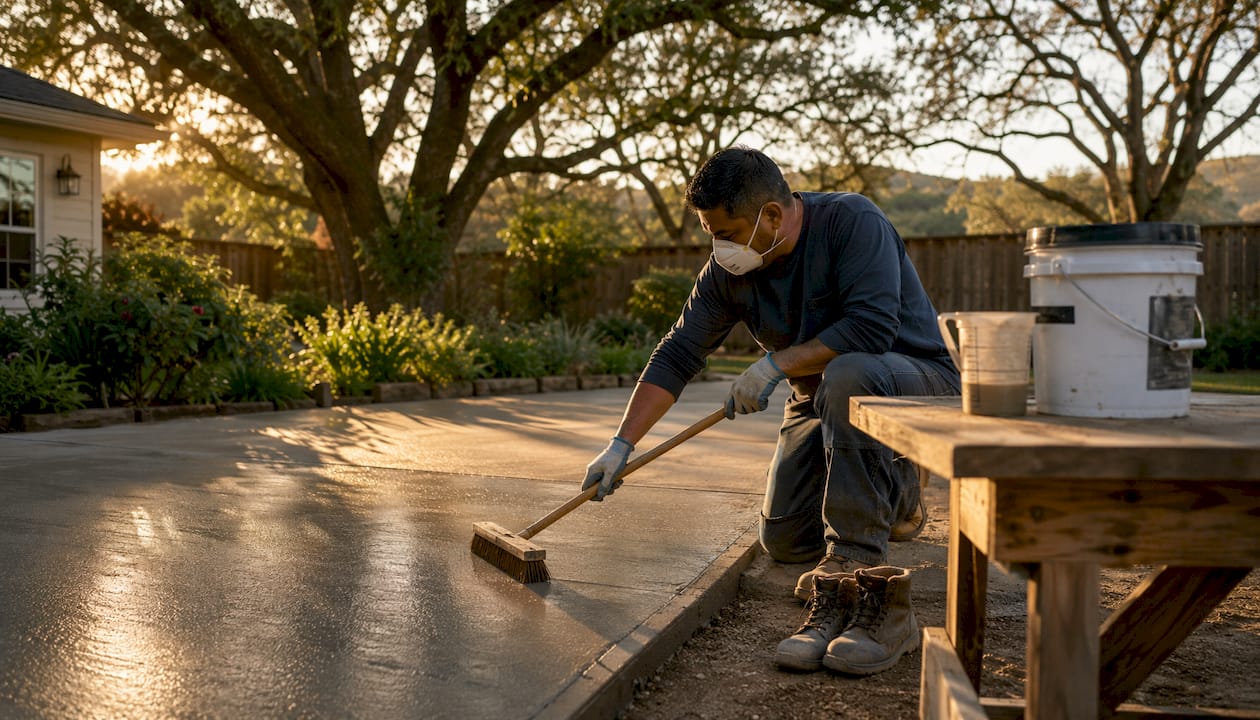
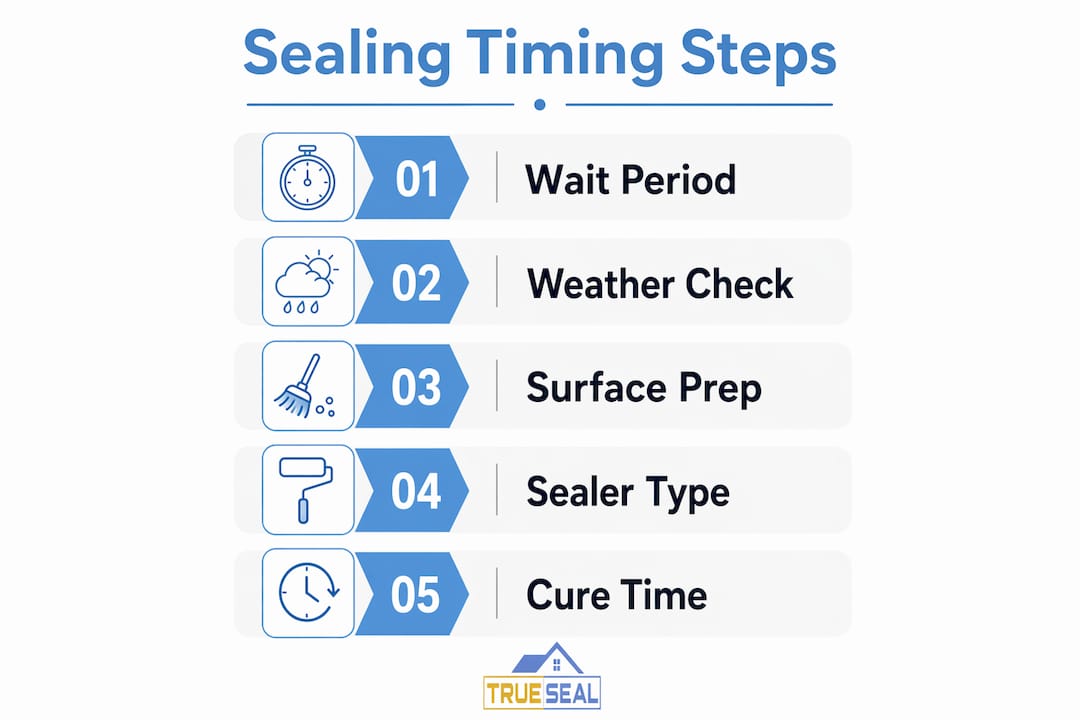
For newly poured exterior concrete, the industry-standard minimum is 28 days before applying any sealer. For existing slabs, the trigger is simpler: seal when water no longer beads on the surface. Three quick checks tell you whether you’re ready to proceed right now.
Three on-site readiness checks:
Water-bead test: Splash a cup of water on the surface. If it beads up and rolls off, the existing sealer is still working. If it soaks in and darkens the concrete, protection is gone and resealing is due.
Plastic-sheet test: Tape a 24-inch square of plastic sheeting flat to the slab and leave it for 24 hours. Condensation or darkening underneath means trapped moisture is still present — do not seal yet.
Weather window check: Confirm no rain is forecast for the next 24 hours and that temperatures will stay between 50°F and 90°F throughout the application day.
Need professional concrete sealing in Cary, Apex, or Raleigh? Explore our Clean & 7-Year Seal service and get a free quote today.
Table of Contents
How long should you wait before sealing concrete?
The 28-day rule exists for a straightforward reason: concrete cures through a chemical process called hydration, and that process releases moisture vapor from the inside out for weeks after the pour. Seal too early and you trap that vapor under a film-forming coating, which causes blushing (a milky white haze), bubbling, peeling, and delamination. The surface may feel bone dry on day 10, but internal moisture can remain active well past that point.
When exceptions may apply:
Penetrating sealers (silane/siloxane): Because these soak into the pore structure rather than forming a surface film, some manufacturers allow application as early as 14 days on exterior slabs in mild climates. Always check the product’s technical data sheet (TDS) first.
Interior low-traffic slabs: A basement or utility slab with controlled humidity may reach acceptable moisture levels faster, but the plastic-sheet test should still confirm readiness.
Milder climates: Warm, dry conditions accelerate moisture release. Even so, most manufacturers hold the 28-day minimum as the floor, not a suggestion.
How to run the plastic-sheet (ASTM-style) moisture test:
Clean a small area of the slab and let it dry completely.
Tape a 24-inch square of clear plastic sheeting to the surface, sealing all four edges with duct tape.
Leave it undisturbed for 24 hours.
Lift the sheet and check for condensation on the underside or darkening of the concrete below.
If moisture is visible, wait another week and retest before proceeding.
Pro Tip: Always pull the product’s TDS before you buy. Manufacturer minimums sometimes differ from the generic 28-day guideline, and using the wrong wait time can void a product warranty.
What weather conditions are right for sealing?
Temperature is the most cited variable, but it’s not the only one that matters. Most sealers perform best when ambient and surface temperatures sit between 50°F and 90°F, with many manufacturers flagging anything below 50°F or above 90–95°F as outside their approved range. Surface temperature can run 10°F–20°F hotter than air temperature on a sunny afternoon, so a pleasant 80°F day can still mean a surface that’s too hot for proper film formation.
Conditions to watch and avoid:
Rain: Skip any day with rain forecast within 24 hours before or after application. Even light dew can prevent proper adhesion on a film-forming sealer.
High humidity: Relative humidity above 70% slows solvent evaporation and can cause a water-based sealer to blush or streak. Check the dew point, not just the humidity percentage.
Wind: A gusty day blows dust and debris onto wet sealer, embedding contaminants in the finish before it cures.
Extreme cold: Below 40°F, most sealers will not cure properly and may freeze before bonding.
Regional guidance for North Carolina: In the Raleigh-Durham area, summer heat and humidity make July and August the most difficult months to seal exterior concrete. Experts recommend targeting late winter/early spring (late February through April) or fall (October through November) in hot, humid Southeast locations to hit the 50°F–80°F sweet spot. Spring and fall in Wake County typically offer the stable, lower-humidity windows that produce the best results.
Pro Tip: Schedule application for early morning or late afternoon. Surface temps peak in the early afternoon, and applying sealer to an overheated slab causes it to dry too fast, leaving lap marks and uneven coverage. If you must work midday, choose a shaded area and let the surface cool before starting.
How sealer type changes your timing and prep
Not all sealers follow the same schedule. The chemistry of the product determines how long you wait, how much prep you do, and how often you come back to reapply.
Sealer Type | Minimum Wait (New Concrete) | Reapplication Cadence | Key Consideration |
Penetrating (silane/siloxane) | 14–28 days (TDS-dependent) | Every 5–10 years | No appearance change; best for driveways and outdoor slabs |
Acrylic/film-forming | 28 days | Every 1–3 years | Can darken or enhance color; more frequent upkeep |
Epoxy/polyurethane | 28–30+ days | Every 3–5 years | Requires fully cured slab and thorough surface prep; highest durability |
Penetrating sealers work by reacting chemically with the concrete’s pore structure. They don’t change the surface appearance significantly, and because they don’t form a film, trapped moisture is less catastrophic. That said, the TDS still sets the minimum wait, and skipping the plastic-sheet test is never a good idea.
Acrylic film-forming sealers are the most common choice for residential driveways and patios. They deliver a visible sheen, can enhance color, and are relatively easy to apply. The tradeoff is more frequent reapplication, typically every 1–3 years depending on traffic and UV exposure. For patio sealing options, the choice between matte and gloss acrylics also affects how quickly the surface shows wear.
Epoxy and polyurethane coatings are the most demanding in terms of prep and timing. They require a fully cured slab, often 28–30 days or more, and the surface must be mechanically profiled (typically by grinding or shot-blasting) for proper adhesion. These are the right call for garage floors and high-traffic commercial surfaces, but they are unforgiving of shortcuts.
One compatibility rule that catches homeowners off guard: if an existing coating is solvent-based and you want to switch to a water-based sealer, full stripping is usually required. Applying a water-based product over an incompatible solvent-based one causes peeling. When in doubt, test a small patch and let it cure fully before committing to the whole surface.
Surface prep checklist before you apply any sealer
Proper prep is where most DIY sealing jobs succeed or fail. A sealer applied to a dirty, oily, or still-damp surface will peel within months regardless of how good the product is. Surface preparation is as important as weather conditions and sealer selection combined.
Step-by-step prep sequence:
Power wash the surface. Use a pressure washer at 2,000–3,000 PSI to remove dirt, algae, mildew, and loose material. For detailed guidance on pre-seal cleaning, allow the surface to dry fully before moving to the next step, typically 24–48 hours.
Degrease oil spots. Apply a concrete degreaser to any oil or grease stains and scrub with a stiff brush. Rinse thoroughly. Unsealed concrete absorbs oil quickly, and a sealer applied over an active stain will fail in that spot. For stubborn stains, a dedicated concrete oil stain remover may be needed before sealing.
Remove old failing sealer. If the existing sealer is peeling, flaking, or incompatible with the new product, strip it mechanically or chemically before proceeding. Applying new sealer over a failed coating just buries the problem.
Repair cracks and spalling. Fill cracks with a compatible concrete repair product and allow the repaired areas to cure fully before sealing. Sealing over open cracks does not seal them — water still enters.
Run the water-bead test as a final check. After cleaning and repairs, splash water on the surface. If it beads, residual sealer may still be present. If it soaks in evenly, the surface is clean, porous, and ready.
Confirm moisture is clear. Run the plastic-sheet test one more time if there is any doubt, especially after wet weather or recent repairs.
Pro Tip: After power washing, wait at least 24 hours before applying sealer, even if the surface looks dry. Concrete holds moisture longer than it appears to, particularly in shaded areas or during humid North Carolina summers.
Common mistakes homeowners make when timing sealer application
The single most damaging mistake is sealing new concrete before the 28-day minimum. The surface looks ready, the weather is good, and the product is sitting in the garage — so homeowners apply it. Within weeks, the sealer turns milky, bubbles, or peels because hydration vapor had nowhere to go. The plastic-sheet test catches this every time, which is why skipping it is so costly.
Other avoidable errors:
Applying in extreme heat or direct sun. Sealer dries too fast, leaving lap marks and uneven coverage. Surface temps above 90–95°F are a hard stop for most products.
Sealing before rain or overnight dew. Even a light rain within 24 hours of application can wash out or cloud a fresh coat. Check a 48-hour forecast, not just the morning sky.
Skipping the dew-point check. High dew points (above 60°F) mean moisture will condense on the surface as temperatures drop in the evening, interfering with cure.
Over-applying sealer. More product is not better. Applying too thick a coat traps solvents and causes bubbling. Follow the manufacturer’s coverage rate exactly.
Applying a new sealer over an incompatible existing one. This is one of the most common causes of peeling on previously sealed driveways. Test compatibility with a small patch first.
Pro Tip: Always apply a test patch in a low-visibility corner, let it cure for the full manufacturer-recommended time, then inspect it before doing the whole surface. This one step prevents the most expensive sealing failures.
How long before you can walk or drive on sealed concrete?
Cure time varies by sealer type, temperature, and humidity. “Dry to the touch” and “ready for traffic” are not the same thing, and confusing them is how fresh sealer gets scuffed or tire-marked before it has fully set.
Typical traffic windows by sealer type:
Acrylic sealers: Foot traffic in 4–8 hours; vehicle traffic in 24–48 hours under normal conditions (65°F–80°F, moderate humidity).
Penetrating sealers: Foot traffic in 1–4 hours; vehicle traffic in 24 hours. These cure faster because there is no surface film to harden.
Epoxy coatings: Foot traffic in 12–24 hours; vehicle traffic in 48–72 hours. Full chemical cure can take 7 days or more.
Polyurethane topcoats: Similar to epoxy for traffic; full cure in 5–7 days.
Sealer Type | Foot Traffic | Vehicle Traffic | Full Chemical Cure |
Acrylic/film-forming | 4–8 hours | 24–48 hours | 72 hours |
Penetrating silane/siloxane | 1–4 hours | 24 hours | 24–48 hours |
Epoxy | 12–24 hours | 48–72 hours | 5–7 days |
Polyurethane | 12–24 hours | 48–72 hours | 5–7 days |
Cold temperatures and high humidity extend every one of these windows. If you seal on a 55°F fall day in Raleigh, add at least 50% to the standard cure time before allowing vehicle traffic. Keep furniture, planters, and anything with sharp edges off the surface until full chemical cure is complete.
How often should you reseal, and what does it cost?
Resealing frequency ranges from every 1–5 years depending on sealer type, traffic load, and climate exposure. In Wake County, where summer UV is intense and occasional winter freeze-thaw cycles stress unprotected surfaces, erring toward the shorter end of that range makes sense for driveways and pool decks.
Signs it’s time to reseal:
Water no longer beads on the surface and soaks in within seconds of contact.
The concrete darkens quickly when wet, indicating an open, porous surface.
Visible staining, fading, or loss of gloss on a previously film-coated surface.
Surface feels rough or shows early scaling, especially near expansion joints.
Cost factors to consider:
Area size: Larger driveways and parking areas cost more in both materials and labor, but the per-square-foot rate often drops with scale.
Prep required: Stripping old sealer, degreasing, or patching cracks adds time and cost. A surface that needs minimal prep is significantly cheaper to reseal.
Sealer type: Penetrating sealers generally cost more per gallon but last longer. Acrylics are less expensive upfront but require more frequent reapplication.
DIY vs. professional: DIY saves on labor but requires renting equipment and accepting the risk of application errors. Professional application on a concrete sealer lifespan basis often delivers a longer service interval because prep and coverage rates are done correctly.
Treat sealing as preventative maintenance, not a repair. Resealing on a schedule before visible damage appears costs a fraction of what slab repair or replacement runs.
When should you hire a professional instead of doing it yourself?
DIY sealing is reasonable for small, straightforward jobs. A 200-square-foot patio with a clean surface and a compatible existing sealer is a manageable weekend project. But several situations call for a professional, and misjudging them leads to expensive failures.
Hire a pro when:
The area is large (a full driveway, parking lot, or commercial property) and consistent coverage matters for both appearance and protection.
The existing sealer is failing, peeling, or incompatible with the new product and needs stripping before reapplication.
The slab has structural issues: significant cracking, spalling, or surface scaling that requires repair before sealing.
You need a warranty on the work, which most product manufacturers require professional application to honor.
The property is commercial. Property managers and HOAs dealing with parking lots, walkways, or multifamily surfaces benefit from professional-grade equipment and documented prep. TrueSeal’s commercial surface services are designed specifically for these situations.
DIY is reasonable when:
The area is small and the surface is clean, sound, and previously sealed with a compatible product.
You are doing a routine reseal on a light-traffic patio or walkway with no stripping required.
You have the time and equipment to do proper prep, including power washing and allowing adequate drying time.
Questions to ask any contractor before hiring:
What surface prep method do you use, and do you follow the product’s TDS?
Can you provide local references for similar concrete sealing work?
What is your post-application care guidance and do you offer a workmanship warranty?
Key Takeaways
Seal new exterior concrete no earlier than 28 days after the pour, confirm readiness with the water-bead and plastic-sheet tests, and always apply within a 50°F–90°F weather window with no rain forecast for 24 hours.
Point | Details |
28-day minimum for new concrete | Sealing before 28 days traps hydration moisture and causes blushing, peeling, and delamination. |
Water-bead test for existing slabs | If water soaks in instead of beading, the protective barrier is gone and resealing is due. |
Weather window matters | Apply between 50°F and 90°F with no rain in the 24-hour forecast and relative humidity below 70%. |
Sealer type sets the schedule | Penetrating sealers allow earlier application; epoxies require 28–30+ days and mechanical prep. |
TrueSeal Clean & 7-Year Seal | For Cary, Apex, Raleigh, and Wake County homeowners, TrueSeal’s system handles prep, repair, and durable sealing in one service. |
What TrueSeal sees on the job — and what it means for your concrete
The most common problem we encounter on a first visit is a homeowner who sealed too soon or over an incompatible existing product. The sealer looks fine for a few months, then starts to cloud or peel in patches, and by the time we arrive, the failed coating has to come off before anything new can go down. That stripping step adds time and cost that proper timing would have avoided entirely.
The second most common issue is hidden moisture. A slab that passed a visual inspection still fails the plastic-sheet test because it was sealed in a shaded area that stays damp, or because a recent repair hadn’t fully cured. We run moisture checks on every job before we open a single container of sealer, and we document the results. That documentation matters if a warranty question ever comes up later.
One thing most homeowners don’t know: staging a small test patch in a low-visibility corner and letting it cure for the full manufacturer-recommended period before doing the rest of the surface is the single highest-return step in any sealing project. It costs nothing and catches incompatibility, moisture problems, and coverage issues before they affect the whole driveway or patio. We do it on every job. You should too, whether you’re hiring a pro or doing it yourself.
Schedule your concrete sealing service with TrueSeal
[
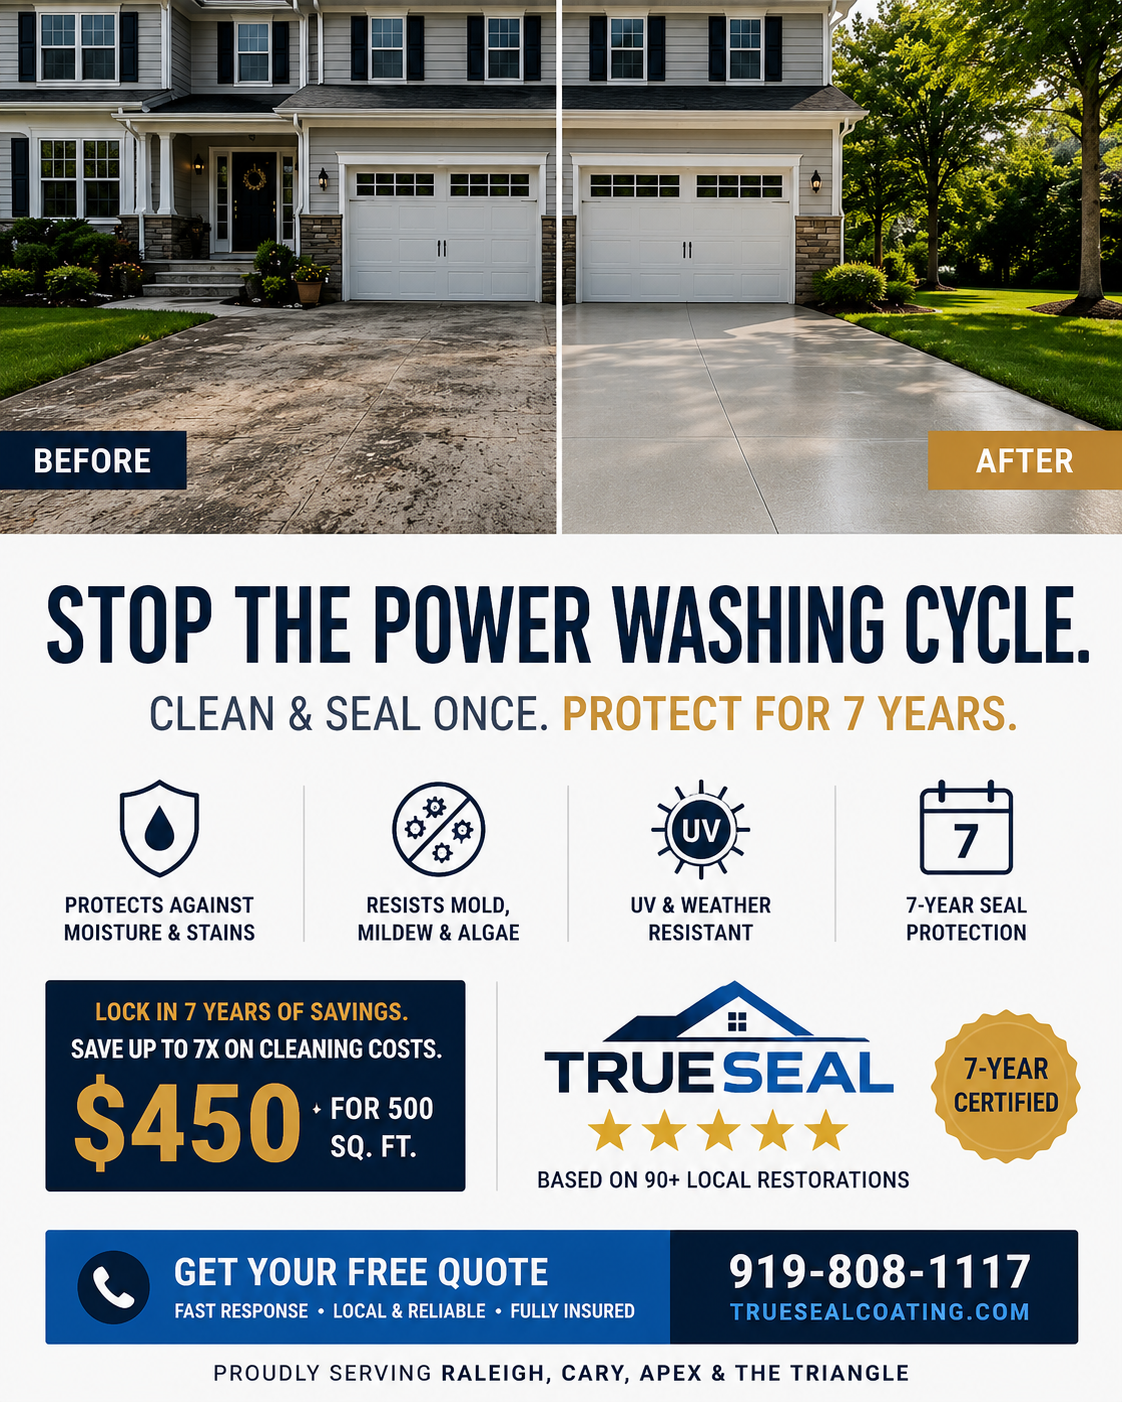
If your driveway, patio, walkway, or pavers no longer bead water, it’s time for professional protection built for North Carolina conditions. TrueSeal’s Clean & 7-Year Seal system starts with a thorough professional cleaning, addresses any surface repairs, and applies a high-performance sealer matched to your specific concrete type and exposure level. The result is a surface that resists moisture, UV fading, oil staining, and the kind of wear that leads to costly slab repairs down the road.
We serve homeowners and property managers throughout Cary, Apex, Raleigh, Morrisville, Holly Springs, and greater Wake County. Whether you need residential concrete sealing, driveway and paver protection, or commercial pavement maintenance, TrueSeal brings the equipment, the prep discipline, and the product knowledge to do it right the first time.
Request Your Free Quote Today at truesealcoating.com and get a surface assessment from a team that works in your neighborhood.
Useful sources and further reading
ASTM C1585 — Standard test method for measuring water absorption rate in hydraulic-cement concrete; the technical basis for moisture testing before sealing.
American Concrete Institute (ACI) — Industry standards and technical guidance on concrete curing, surface preparation, and protective treatments.
National Ready Mixed Concrete Association (NRMCA) — Practical resources on concrete performance, maintenance, and sealing best practices.
Concrete Network — Resealing Guide — Covers reseal cadence, signs of sealer failure, and professional prep methods.
W.R. Meadows — Acrylic Sealer Timing Guide — Manufacturer-level guidance on seasonal application windows and climate considerations.
Product Technical Data Sheets (TDS): Always consult the TDS for your specific sealer before application. Manufacturer minimums for temperature, humidity, and cure time override generic guidelines.
E&R Cleaning Solutions — Commercial Concrete Cleaning — Useful resource for property managers who need professional cleaning before a commercial sealing project.
E&R Cleaning Solutions — Patio Cleaning for Rental Homes — Practical guidance for landlords and property managers on pre-seal patio cleaning and routine maintenance.
TrueSeal case studies and project documentation: Available on request for Wake County residential and commercial projects.
FAQ
What is the best time of year to seal concrete?
Late winter through early spring (February through April) and fall (October through November) are the best windows in the Raleigh-Durham area. These seasons offer the stable temperatures between 50°F and 90°F and lower humidity that most sealers require for proper adhesion and cure.
When should you not seal concrete?
Avoid sealing when temperatures are below 50°F or above 90–95°F, when rain is forecast within 24 hours, when relative humidity exceeds 70%, or when the plastic-sheet test shows trapped moisture in the slab. New concrete should never be sealed before the 28-day minimum.
What temperature is too cold to seal concrete?
Most sealers should not be applied below 50°F, and anything below 40°F is a hard stop for nearly all products. Cold temperatures prevent proper film formation and can cause the sealer to freeze before it bonds, leading to a coating that peels within the first season.
Can you seal concrete too early?
Yes, and it’s the leading cause of sealer failure on new slabs. Sealing before the 28-day minimum traps hydration moisture under the coating, causing blushing, bubbling, and delamination. Run the plastic-sheet test to confirm moisture has cleared before applying any film-forming sealer.
How do you know when existing concrete needs resealing?
The water-bead test is the most reliable indicator: if water soaks into the surface and darkens the concrete rather than beading and rolling off, the protective barrier is gone and resealing is due. Visible staining, surface fading, or loss of gloss on a previously coated slab are additional signs.
Recommended

Comments