Polymeric Sand Problems: Causes, Fixes & Prevention For North Carolina Home Owners.

Updated: Aug 12
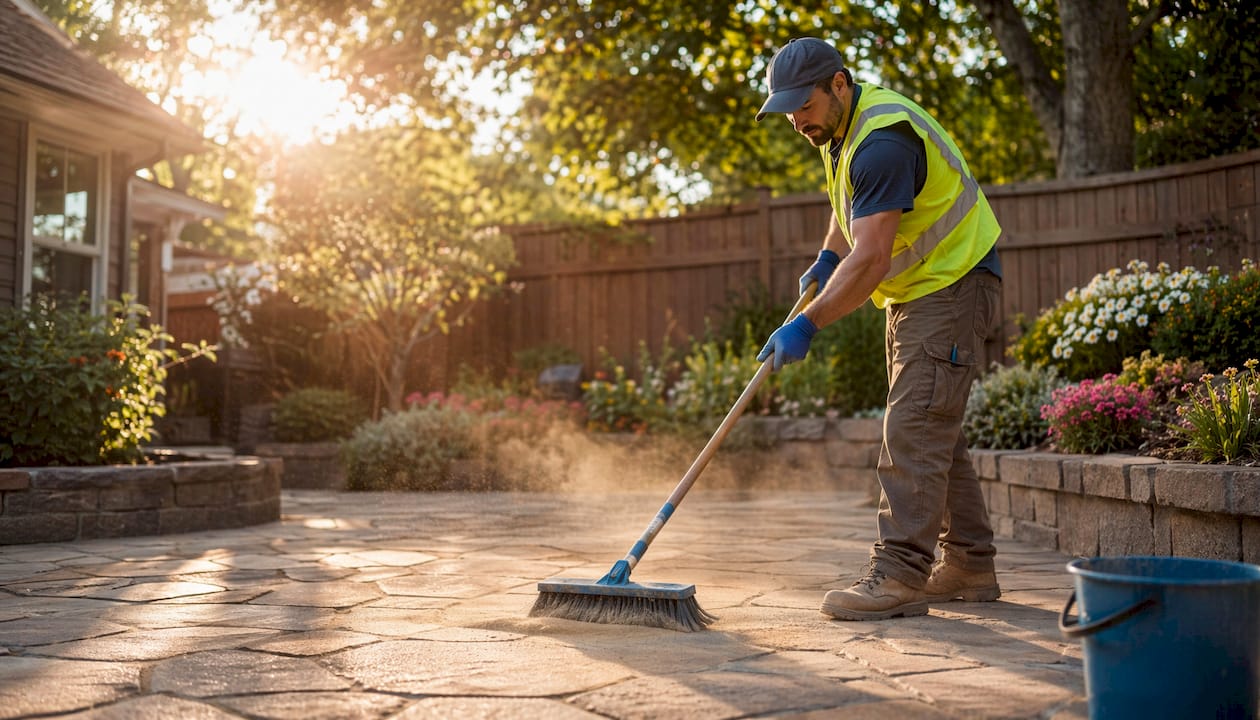
Polymeric sand is defined as a mixture of fine sand and polymer binders that lock paver joints together when activated with water. Most polymeric sand problems trace back to installation errors, not product defects. 80% of failures stem from inadequate joint depth, leftover surface dust, or incorrect wetting during activation. That single fact changes how you should approach every step of the process. Whether your joints are washing out after rain, developing a white haze, or crumbling after just one season, the fix almost always starts with understanding what went wrong during installation.
What causes polymeric sand problems like erosion and hazing?
Polymeric sand fails for predictable reasons. The polymer binders that hold joints together are sensitive to water volume, timing, and surface cleanliness. When any of those variables are off, the result is soft joints, sand washout, or a stubborn white film on your pavers.
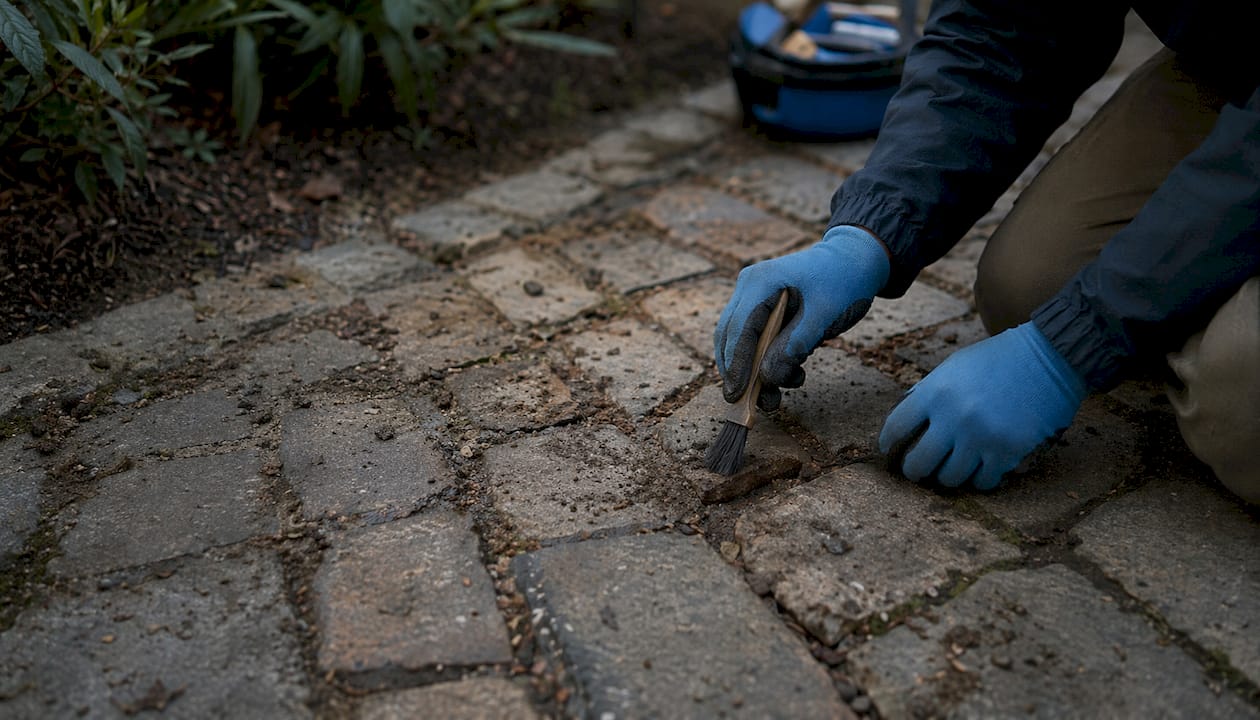
Installer errors that cause most failures
The most common installation mistakes include:
Insufficient joint depth. The ideal joint depth is about 1.5 inches, with sand sitting 1/8 inch below the paver edge. Shallower joints lack the mass to hold together under foot traffic or rain.
Surface dust left behind. Dust and debris on paver surfaces almost always cause polymeric haze. Meticulous surface cleaning before activation is not optional. It is the single most preventable cause of discoloration.
Wrong water volume. Flooding joints causes polymer binders to migrate to the surface, forming a fragile crust instead of a solid bond. Too little water leaves the sand dry and loose.
“Polymeric sand performance hinges on a precise balance of water and air. Flooding joints causes binder runoff, ruining the bond entirely.” — Hardscape Magazine
Pro Tip: Before you wet anything, run a leaf blower over the entire surface at a low angle. Any sand sitting on top of the pavers will cause haze the moment water hits it.
Environmental factors that worsen joint failure
Rain during the curing window is one of the most damaging environmental risks. Applying polymeric sand in damp conditions or before forecast rain increases failure risk through premature curing or washout. Shade slows drying and extends the window during which joints are vulnerable. High humidity, common in the Cary area during summer months, compounds that risk by preventing the surface from drying evenly.
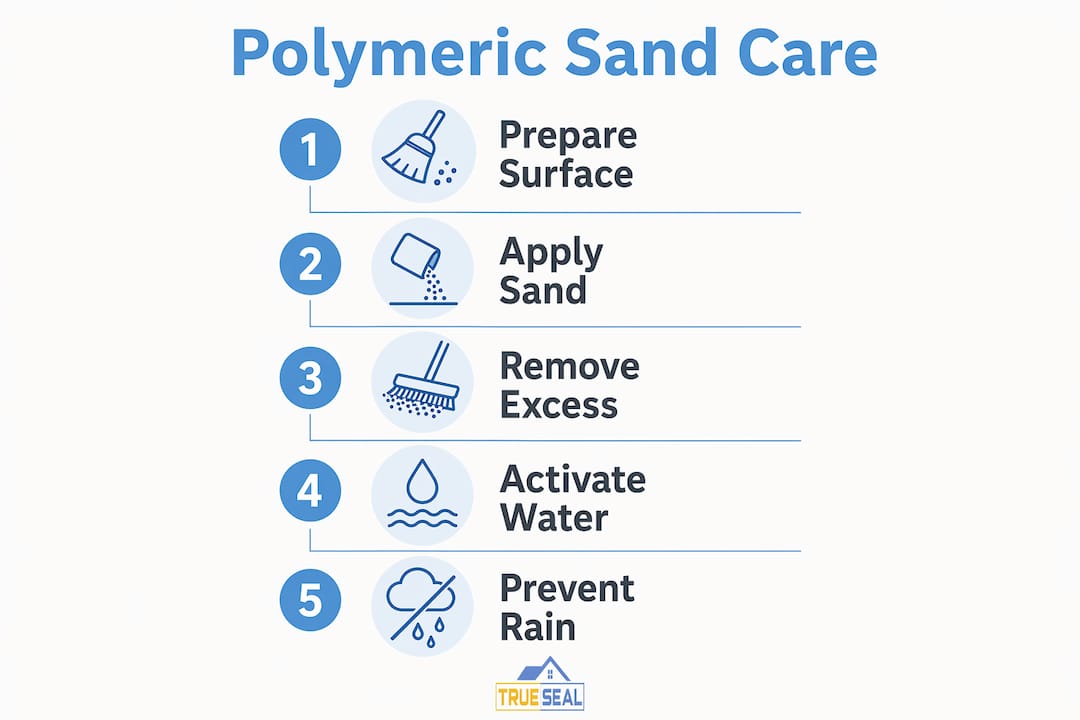
Symptoms of these failures are easy to spot. Sand washing out after the first heavy rain, soft joints that compress underfoot, and white haze forming on paver faces are all signs that something went wrong during activation or curing.
How to properly install and activate polymeric sand
Correct installation prevents the vast majority of joint failures. The process is not complicated, but it does require patience and the right sequence.
Step-by-step installation process
Confirm joint depth. Check that joints are at least 1.5 inches deep. If they are not, remove existing sand and repack the base before proceeding.
Clean the surface completely. Sweep away all loose debris. Use a leaf blower to remove fine dust from paver faces and joint edges.
Fill joints in passes. Pour sand across the surface and sweep it into joints using a stiff broom. Work in multiple passes until joints are packed to 1/8 inch below the paver edge.
Compact the sand. Use a plate compactor or hand tamper to settle the sand firmly. Repeat the fill-and-compact cycle until joints are dense and stable.
Final surface sweep. Blow off all remaining sand from paver faces before any water touches the surface. This step prevents haze.
First wetting pass. Use a fine mist nozzle at low pressure. Wet the surface slowly, allowing water to penetrate joints to approximately 75% of paver thickness. No standing water should remain on the surface.
Second wetting pass. Wait five minutes, then repeat the misting process. Professionals verify depth by probing joints with a screwdriver to confirm saturation without flooding.
Protect during curing. Keep the surface dry for at least 12 hours. Foot traffic should stay off for 24 hours.
Pro Tip: Check the weather forecast before you start. If rain is expected within 12 hours, postpone the job. One rain event during curing can undo an entire installation.
Installation dos and don’ts
Do | Don’t |
Clean all surface dust before wetting | Wet the surface before blowing off loose sand |
Use a fine mist nozzle for activation | Flood joints with a garden hose at full pressure |
Compact sand in multiple passes | Skip compaction and rely on water to settle sand |
Check the 12-hour weather window | Install when rain is forecast or pavers are damp |
Saturate joints to 75% depth | Over-wet until binders run off onto paver faces |
How do you identify and remove polymeric sand haze?
White discoloration on pavers is one of the most common complaints after polymeric sand installation. The problem is that not all white residue is the same. Treating the wrong type with the wrong product causes permanent damage.
Haze vs. efflorescence: how to tell them apart
Polymeric haze is a hardened binder residue that forms when polymer migrates to the paver surface during activation. Efflorescence is a powdery white salt deposit that rises from within the paver or base material. The distinction matters because the removal methods are completely different.
Brush test. Rub the white area with a stiff dry brush. Efflorescence comes off as a powder. Polymeric haze does not budge.
Moisture test. Wet the area and observe. Efflorescence often disappears when wet and reappears as it dries. Haze stays visible regardless of moisture.
Texture test. Haze feels slightly glossy or film-like. Efflorescence feels chalky and loose.
Safe removal methods
Specialized acidic cleaners formulated for polymeric haze are the correct tool. Using acid cleaners on efflorescence can etch and damage pavers, so confirming the type of residue first is not optional. One gallon of concentrated haze remover typically covers 200–1,000 sq ft depending on severity.
Method | Effectiveness | Risk level |
Specialized polymeric haze remover | High for true haze | Low when used correctly |
Dry brushing | High for efflorescence | None |
Household vinegar | Low for either type | Moderate (etching risk) |
High-pressure washing (above 2,500 PSI) | Removes surface residue | High (joint erosion, paver damage) |
High-pressure washing above 2,500 PSI risks eroding joint sand and damaging paver edges, especially on uncured installations. Chemical cleaners at appropriate dwell times are safer and more effective.
Pro Tip: Apply haze remover on a cool, shaded surface. Direct sun causes the product to evaporate before it can work, reducing effectiveness and increasing the risk of streaking.
How do environmental conditions affect polymeric sand performance?
Site conditions and climate play a larger role in joint longevity than most homeowners realize. Cary’s humid subtropical climate creates specific challenges, including summer heat, frequent afternoon thunderstorms, and mild winters that still produce freeze-thaw cycles.
Key environmental factors that affect performance:
Rain and humidity. Premature moisture exposure during the 12-hour curing window leads to washout. High ambient humidity slows drying and extends vulnerability.
Heat and UV exposure. High temperatures cause rapid surface drying that forms a crust before the joints cure fully below. Installing during cooler times of day and protecting curing joints from direct sun improves durability.
Drainage and water pooling. Poor base drainage concentrates water in joints, accelerating erosion. Downspouts that discharge onto paved areas are a common culprit.
Irrigation systems. Sprinkler spray hitting paver joints repeatedly washes out polymer binders over time, even on well-installed surfaces.
Edge restraints. Loose or missing edge restraints allow pavers to shift. Movement breaks the polymer bond in joints, causing cracking and sand loss.
Slope and grade. Steep slopes increase runoff velocity across joints. Polymeric sand typically lasts 5–10 years under good conditions but may need earlier reapplication near slopes or downspouts.
Pro Tip: Walk your patio or driveway after a heavy rain before installation. Any area where water pools or flows fast will stress your joints the most. Address drainage issues before laying sand.
Key Takeaways
Polymeric sand problems are almost always preventable when installation follows the correct sequence, water volume, and curing conditions.
Point | Details |
Most failures are installer errors | 80% of problems trace to poor joint depth, surface dust, or incorrect wetting. |
Water volume is critical | Saturate joints to 75% depth with a fine mist; flooding destroys the polymer bond. |
Haze and efflorescence need different fixes | Confirm the type before cleaning to avoid permanent paver damage. |
Curing requires 12 moisture-free hours | Rain or foot traffic during curing causes washout and joint failure. |
Environmental prep matters | Address drainage, irrigation, and slope issues before installation begins. |
What we see most often on Cary patios and driveways
After working on paver surfaces across Cary, Apex, and the broader Wake County area, the pattern we see most often is not a product failure. It is a process failure. Homeowners buy quality polymeric sand, follow the bag instructions loosely, and then wonder why their joints are soft or hazy six weeks later.
The bag instructions are a starting point, not a complete guide. They do not account for your specific joint depth, your local humidity on the day of installation, or the fact that your irrigation system runs at 6:00 AM every morning. Those details matter more than the product itself.
The biggest mistake we see is skipping the final surface sweep before wetting. It takes five minutes. Skipping it causes haze that requires acidic cleaners, scrubbing, and sometimes professional restoration to fix. The second-biggest mistake is wetting too fast. Homeowners want to finish the job and move on, so they rush the misting passes. The result is flooded joints and binder runoff that looks fine until the first rain.
If your joints are already failing, do not reach for a pressure washer above 2,500 PSI. That approach removes the symptom and worsens the underlying problem. Start with a proper diagnosis: is the sand washing out, is it hazy, or is it soft? Each issue has a different fix, and treating the wrong problem wastes time and money.
When you are unsure, getting a professional assessment before you spend a weekend redoing the job is worth it. Truesealcoating’s paver cleaning and sealing services are designed specifically for North Carolina conditions, and we can tell you within minutes whether your surface needs a repair, a resand, or a full restoration.
— TrueSeal
Professional paver care from Truesealcoating in Cary
If your paver joints are eroding, hazing, or failing to hold after rain, professional service delivers a lasting fix that DIY repairs often cannot match.

Truesealcoating serves homeowners across Cary, Apex, Raleigh, and greater Wake County with residential paver cleaning, polymeric sanding, and sealing built for North Carolina’s climate. Our Clean & 7-Year Seal system restores joint stability, removes discoloration, and protects your surface from moisture, UV exposure, and seasonal wear. If your pavers no longer bead water or your joints are showing signs of failure, request your free quote today and get a professional surface assessment.
FAQ
What are the most common polymeric sand problems?
The most common issues are sand washing out after rain, white haze forming on paver faces, and joints staying soft after activation. Most trace back to insufficient joint depth, surface dust left before wetting, or incorrect water volume during activation.
Why is my polymeric sand not hardening?
Polymeric sand fails to harden when joints are not saturated to the correct depth or when rain contacts the surface during the 12-hour curing window. Flooding joints also causes binder runoff, leaving a weak surface crust with no structural bond below.
How do I fix polymeric sand washing out?
Remove the remaining loose sand, clean the joints thoroughly, and reapply with correct joint depth and a two-pass misting technique. Check that no rain is forecast within 12 hours before reactivating, and confirm drainage around the area is not directing water flow across the joints.
Is polymeric sand better than regular sand for paver joints?
Polymeric sand outperforms regular sand in joint stability, weed resistance, and erosion control. Regular sand washes out quickly and allows weed growth, while polymeric sand bonds into a firm joint that resists both. The tradeoff is that polymeric sand requires precise installation to perform correctly.
How long does polymeric sand last?
Properly installed polymeric sand lasts 5–10 years under normal conditions. Areas near downspouts, slopes, or irrigation systems may require reapplication sooner due to concentrated water exposure and erosion.
Recommended
Comments