How Soon to Seal New Concrete in Wake County, NC: Timing Guide
- John M
- Aug 7
- 10 min read

Updated: Aug 12
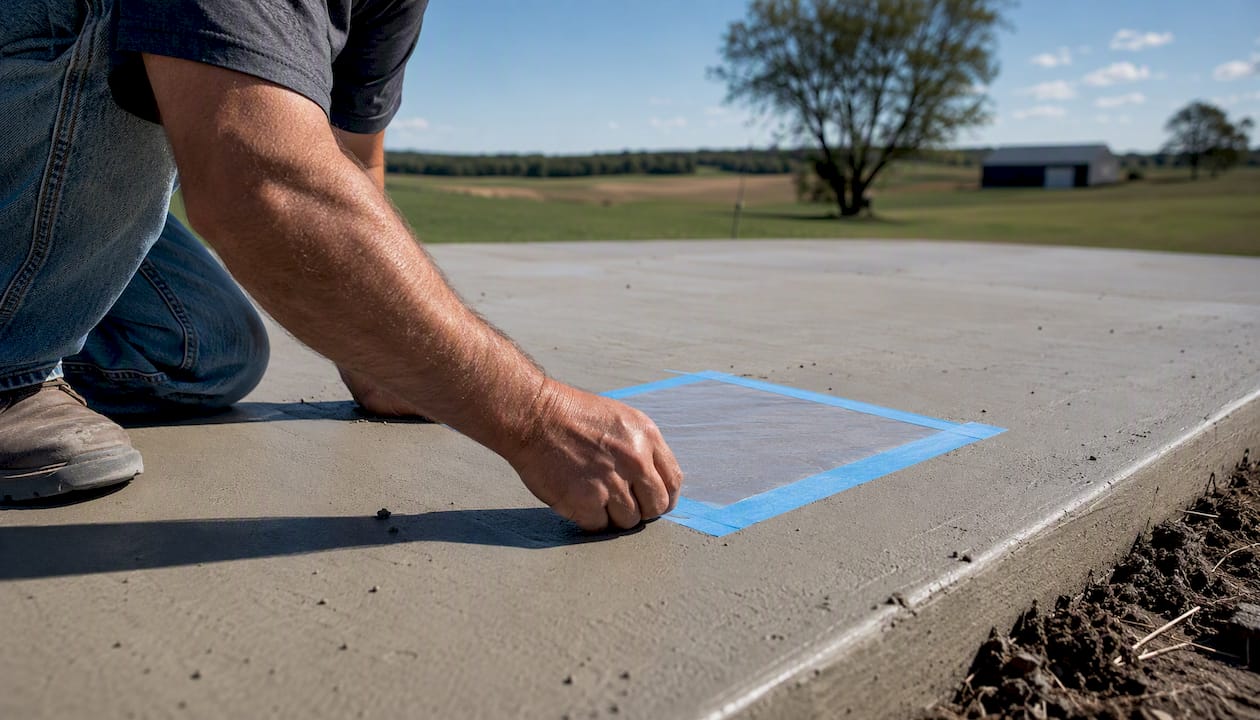
Wait at least 7 days before sealing new concrete, and ideally 28 days for any exterior slab, driveway, or patio. That 28-day window is when concrete typically reaches its full design strength under normal curing conditions. Sealing before the slab is ready traps moisture inside, and the results range from a milky haze to full delamination.
Before you schedule anything, run these two quick checks:
Plastic-sheet test: Tape a 12×12 inch piece of plastic sheeting flat to the slab and leave it for 16–24 hours. Condensation on the underside means the concrete is still releasing moisture and is not ready.
Weather window: Confirm you have a dry forecast and temperatures between 50°F and 85°F for application day and at least 24 hours after.
If you have a decorative, stamped, or high-traffic slab, or if your moisture test results are unclear, request a TrueSeal assessment before proceeding. Getting the timing wrong on a premium surface costs far more to fix than the sealing job itself.
Key Takeaways
Sealing new concrete at the right time, with the right product, and on a properly prepared surface is what determines whether the finish lasts years or fails within months.
Point | Details |
Minimum wait: 7 days | Never seal before 7 days; exterior slabs need the full 28 days for design strength. |
Run the plastic-sheet test | Tape a 12×12 in. sheet for 16–24 hours; condensation means the slab is not ready. |
Match sealer to use-case | Penetrating sealers allow earlier application; epoxy and film-forming products require 28 days and low moisture. |
Weather window matters | Apply only between 50°F and 85°F with no rain forecast for at least 24 hours after application. |
TrueSeal for complex jobs | Decorative slabs, failed sealers, or uncertain moisture results call for TrueSeal’s professional assessment and warranty-backed application. |
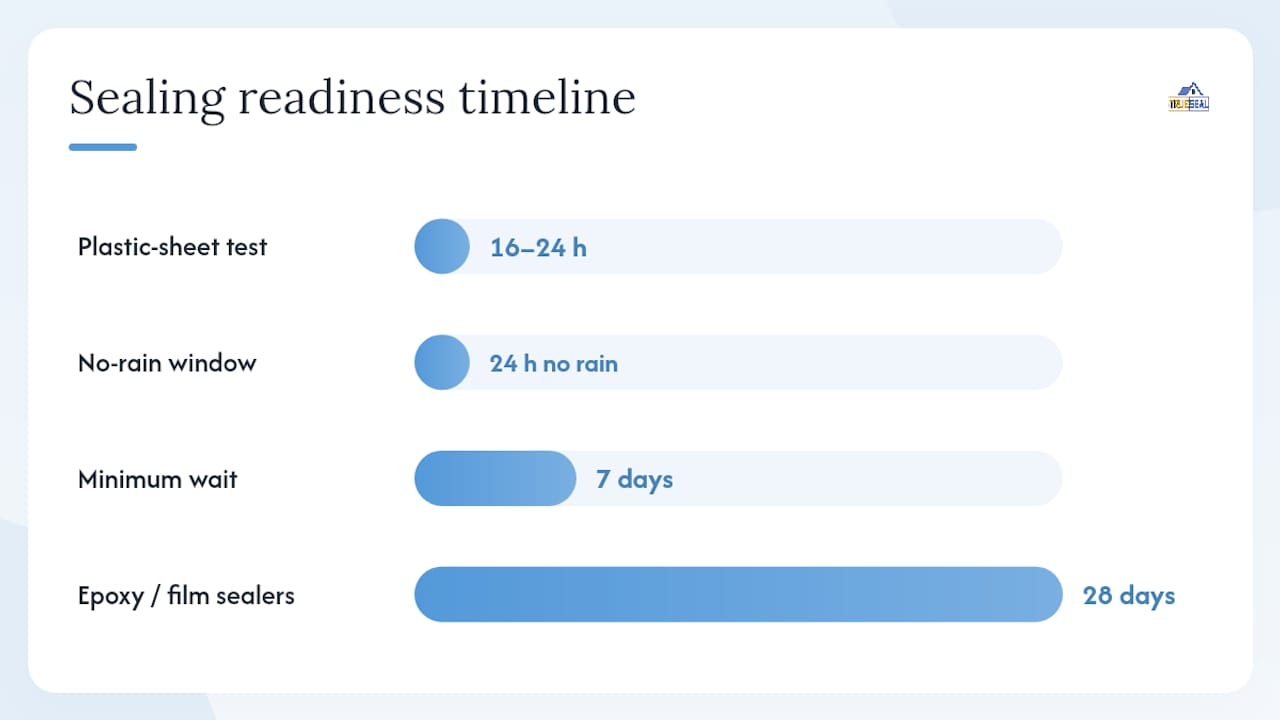
Table of Contents
Why sealing too early damages your concrete
Concrete curing is not just drying. It is a chemical reaction between cement and water called hydration, and it needs to continue uninterrupted for the slab to reach its specified strength and density. The American Concrete Institute’s ACI 308 guidance defines curing as deliberate actions to maintain moisture and temperature so hydration can proceed, noting that surface curing directly affects strength, permeability, abrasion resistance, and freeze-thaw durability.
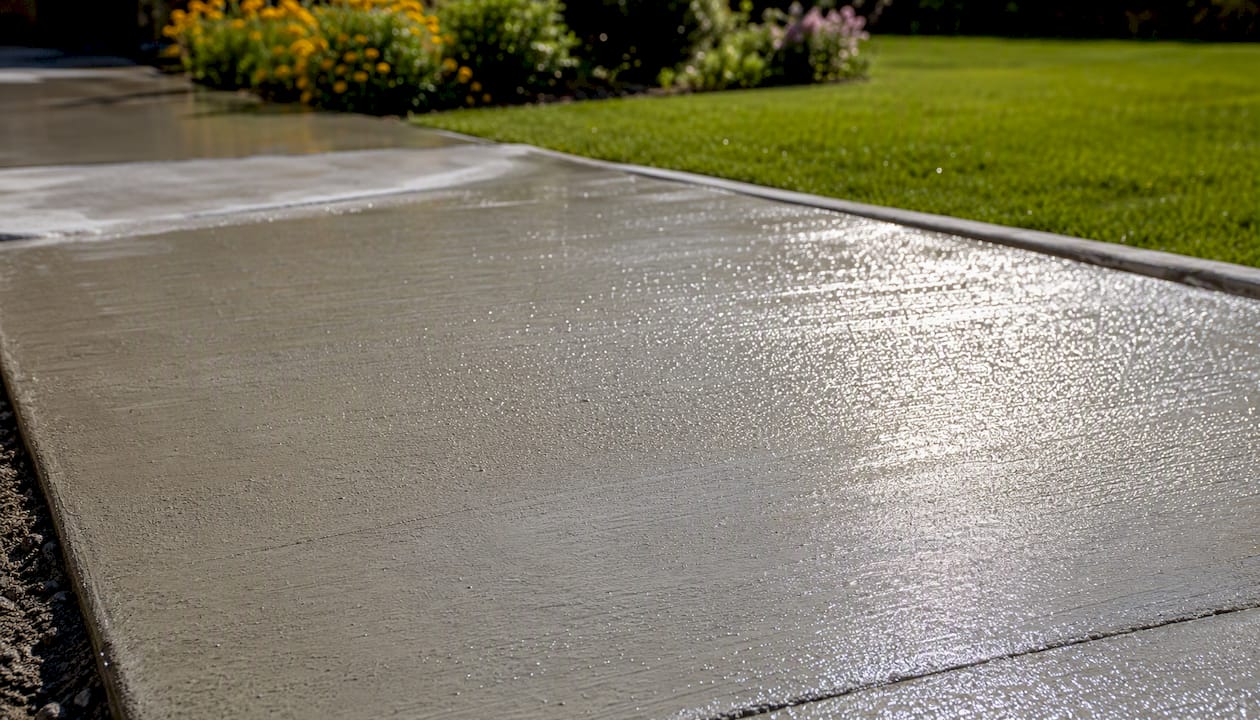
Curing keeps moisture in. A sealer keeps moisture out. Apply a sealer too early and you interrupt hydration at the surface, trapping water vapor with nowhere to go.
The common failure modes from premature sealing include:
Blistering and bubbling: Trapped moisture vapor pushes up through the sealer film, creating bubbles that eventually break.
Delamination and peeling: The sealer bond fails because the surface was still wet at application, causing sheets of sealer to lift.
Milky haze (blushing): Moisture reacts with the sealer chemistry and turns the finish cloudy or white, especially with acrylic film-forming products.
Spalling and scaling: Long-term moisture entrapment weakens the surface layer, leading to flaking and pitting, particularly after freeze-thaw cycles.
Stripping a failed sealer and reapplying correctly costs significantly more than waiting the full cure period in the first place.
How long should you wait before sealing new concrete?
Standard concrete reaches approximately 60% of its design strength at 7 days and full design strength at 28 days under typical curing conditions (50–80°F). Those two benchmarks drive nearly every practical timing recommendation you will find.
Here is how to apply them:
7-day minimum: The absolute floor for most situations. Foot traffic is generally safe, and some penetrating sealers can be applied to interior slabs or low-traffic walkways at this point, provided moisture tests pass.
14–21 days: Appropriate for light vehicle use and some penetrating sealers on exterior slabs when conditions are warm and dry and moisture testing confirms readiness.
28 days (recommended standard): The target for exterior driveways, patios, and any slab that will see regular vehicle or heavy foot traffic. Lowe’s consumer guidance recommends waiting about one month before sealing new concrete, and that aligns with the 28-day design-strength benchmark.
Beyond 28 days: Cold or damp weather slows hydration considerably. If your slab was poured in late fall or during a wet stretch, add extra days and rely on moisture testing rather than the calendar.
Exceptions worth knowing:
Hot, dry summers in Raleigh and Cary can accelerate surface drying, which sometimes makes a slab look ready before it actually is. The interior of the slab may still be releasing moisture even when the surface feels bone dry. Fast-setting mixes may reach strength benchmarks sooner, but always confirm with the manufacturer’s technical data sheet and a moisture test.
“Cure-and-seal” products are a separate category. They are applied immediately after finishing retaining moisture during the curing period. They are not a long-term protective sealer and do not replace a proper sealing job at 28 days.
How to test whether your slab is ready to seal
Calendar days are a starting point, not a guarantee. These tests tell you what the slab is actually doing.
Plastic-sheet moisture test (field standard)
Clean a small area of the slab surface and let it air dry for 30 minutes.
Cut a 12×12 inch piece of clear plastic sheeting.
Tape all four edges firmly to the concrete so no air can escape.
Leave it in place for 16–24 hours, away from direct sun if possible.
Lift the sheet and check the underside. Condensation or water droplets mean the slab is still releasing moisture. A dry underside is a green light to proceed, pending weather conditions.
This ASTM-referenced field check is the simplest and most accessible test for homeowners. It costs nothing and takes less than a minute to set up.
Other moisture testing options
Surface moisture meters: Inexpensive handheld devices that give a quick reading. Useful for a general check but less precise than probe-based methods.
In-situ relative humidity (RH) probes: Inserted into drilled holes in the slab to measure moisture at depth. More accurate than surface meters and the preferred method for interior floors or high-value decorative work.
Calcium chloride tests: A dish of calcium chloride is sealed to the slab surface for 60–72 hours; weight gain indicates moisture emission rate. Used more often on interior slabs before flooring installation.
For a standard residential driveway or patio, the plastic-sheet test combined with a surface moisture meter is sufficient. For stamped concrete, garage floors, or any slab where a sealer failure would be costly, RH probe testing is worth the investment.
Pro Tip: Run the plastic-sheet test in the shadiest spot on the slab. That area retains moisture longest and gives you the most conservative, reliable reading.
Which sealer type is right for your slab and schedule?
Sealer chemistry affects both how long you need to wait and how forgiving the product is if conditions are not perfect. Contractor guidance consistently places penetrating sealers at the more flexible end of the timing spectrum, while high-build film-forming products like epoxy demand the strictest moisture control.
A few practical notes on selection:
Driveways in Raleigh and Cary: A penetrating silane/siloxane sealer or a quality acrylic offers solid protection against moisture intrusion and the UV exposure common in central North Carolina. Wait the full 28 days.
Stamped or colored concrete: Acrylic or polyurethane sealers enhance color and sheen but are the most sensitive to moisture at application. See TrueSeal’s stamped concrete sealing guide for decorative-specific guidance.
Interior garage floors: Epoxy or polyurethane coatings require the lowest possible moisture content. RH probe testing is strongly recommended before application.
Always read the manufacturer’s technical data sheet. Product-specific instructions override general guidance, and some formulations have tighter temperature or moisture windows than the category averages above.
Surface preparation and application checklist
A clean, dry, properly prepared surface is what separates a sealer that lasts years from one that fails in months. Follow this sequence once your slab passes the moisture test.
Pre-application preparation
Pressure wash the surface to remove dirt, oil, algae, and any curing compound residue. See TrueSeal’s guide on pressure washing before sealing for wait times after washing.
Repair cracks and spalls with a compatible concrete repair product. Let repairs cure fully before sealing.
Remove efflorescence and stains with a diluted muriatic acid wash or a dedicated concrete cleaner, then rinse thoroughly.
Allow the surface to dry completely. After pressure washing, wait at least 24 hours, longer in humid conditions.
Confirm temperature and weather. Application temperature should be between 50°F and 85°F, with no rain forecast for at least 24 hours.
Tools and materials
Stiff-bristle push broom and leaf blower for debris removal
Pressure washer (minimum 2,000 PSI for driveways)
Pump sprayer or 3/8-inch nap roller for sealer application
PPE: chemical-resistant gloves, eye protection, and adequate ventilation for enclosed areas
Application
Apply sealer in thin, even coats. Puddling causes uneven sheen, extended dry times, and adhesion problems in the next coat. Work in sections, maintain a wet edge, and avoid applying in direct midday sun, which can cause the sealer to dry too fast and leave lap marks. For two-coat systems, follow the manufacturer’s recoat window exactly.
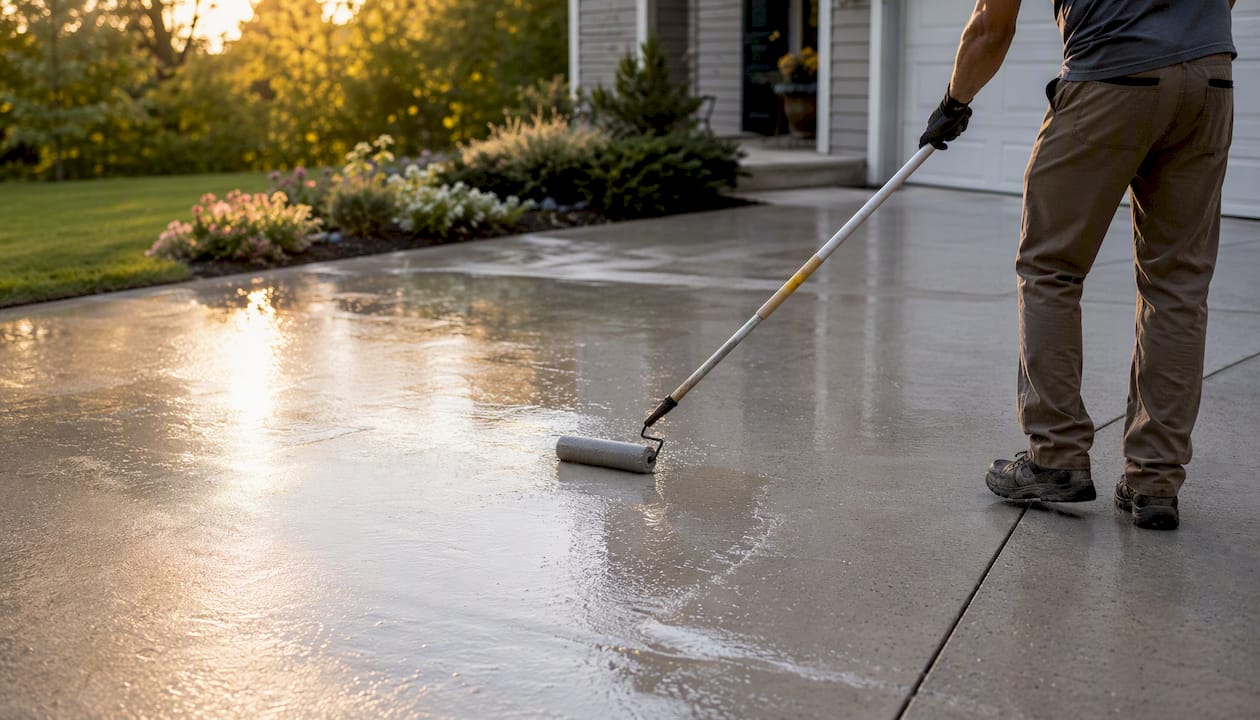
Foot traffic is typically safe after 24 hours; professional-grade equipment and materials make the process more reliable and efficient, as explained by Supporting Concrete Contractors | R. Construction Solutions. Hold vehicle traffic for at least 48–72 hours, longer for epoxy or polyurethane systems.
Common sealer failures and how to fix them
Even with correct timing, things can go wrong. Here is what to look for and what to do.
Bubbling or blistering: Almost always caused by moisture trapped under the sealer or application in direct sun. Small bubbles can sometimes be rolled out while the sealer is still wet. Cured bubbles require stripping and reapplication.
Peeling or delamination: The sealer did not bond because the surface was wet, contaminated, or the product was applied over an incompatible existing sealer. Strip completely, clean, and reapply after confirming dry conditions.
Milky haze (blushing): Moisture reacted with the sealer during application or cure. On acrylic sealers, a light haze sometimes clears as the sealer fully cures. A persistent white cast requires stripping.
Uneven sheen or lap marks: Usually a result of uneven application, applying in direct sun, or recoating outside the manufacturer’s window. Light sanding and a thin recoat can correct minor cases.
When to call a professional: Large-area failures covering more than a few square feet, any structural surface damage (deep spalling, cracking), or repeated failures after correct preparation all point to an underlying issue that a DIY fix will not solve. Stripping and reapplying a failed sealer is more expensive than doing the job correctly the first time, and professional diagnosis prevents a third attempt.
When should you hire a contractor for concrete sealing?
Some sealing jobs genuinely benefit from professional assessment, and some require it.
Hire a contractor when:
The slab is decorative, stamped, or stained concrete where a sealer failure is visually obvious and costly to fix.
Moisture test results are borderline or inconsistent across the slab.
The driveway or parking area sees regular vehicle traffic and you need a documented warranty.
The slab was poured during cold weather and you are uncertain whether curing was adequate.
A previous sealer failed and you do not know why.
What TrueSeal’s assessment covers:
Remote inspection using photos you submit digitally, so you get a preliminary evaluation without waiting for a site visit.
On-site moisture testing for slabs where remote assessment identifies risk factors.
A documented protection plan that matches sealer type to your specific slab, use-case, and local conditions.
Warranty and maintenance options so you know exactly how long the finish is protected.
What to have ready before scheduling:
Pour date (or approximate date if unknown)
Mix type, if the contractor provided that information
Recent weather history (any rain, cold snaps, or heat events since the pour)
Photos of the full slab surface, including any visible cracks, stains, or discoloration
Pro Tip: In Wake County, the best months for new concrete sealing are typically April through May and September through October, when temperatures stay in the 55–80°F range and humidity is lower. Avoid scheduling sealing in July or August unless you can work early morning before surface temperatures climb.
Our take on concrete sealing timing
The 28-day rule is right, but it is not the whole answer. What we see repeatedly is homeowners who wait the calendar days but skip the moisture test, then wonder why their sealer blushed or peeled within a season. The calendar tells you when hydration is likely complete. The plastic-sheet test tells you what is actually happening in your slab.
For Wake County homeowners specifically, the summer heat creates a false sense of readiness. A slab poured in July can feel completely dry on the surface within a week, but the interior is still releasing moisture. Run the test. If it fails, wait another week and test again. Patience at this stage costs nothing. A failed sealer costs time, money, and the surface itself.
TrueSeal protects your concrete the right way, the first time
Concrete sealing done correctly starts with proper timing, moisture verification, and the right product for your surface. TrueSeal handles all of it for homeowners and property managers across Raleigh, Cary, Apex, Garner, and Wake County.
[
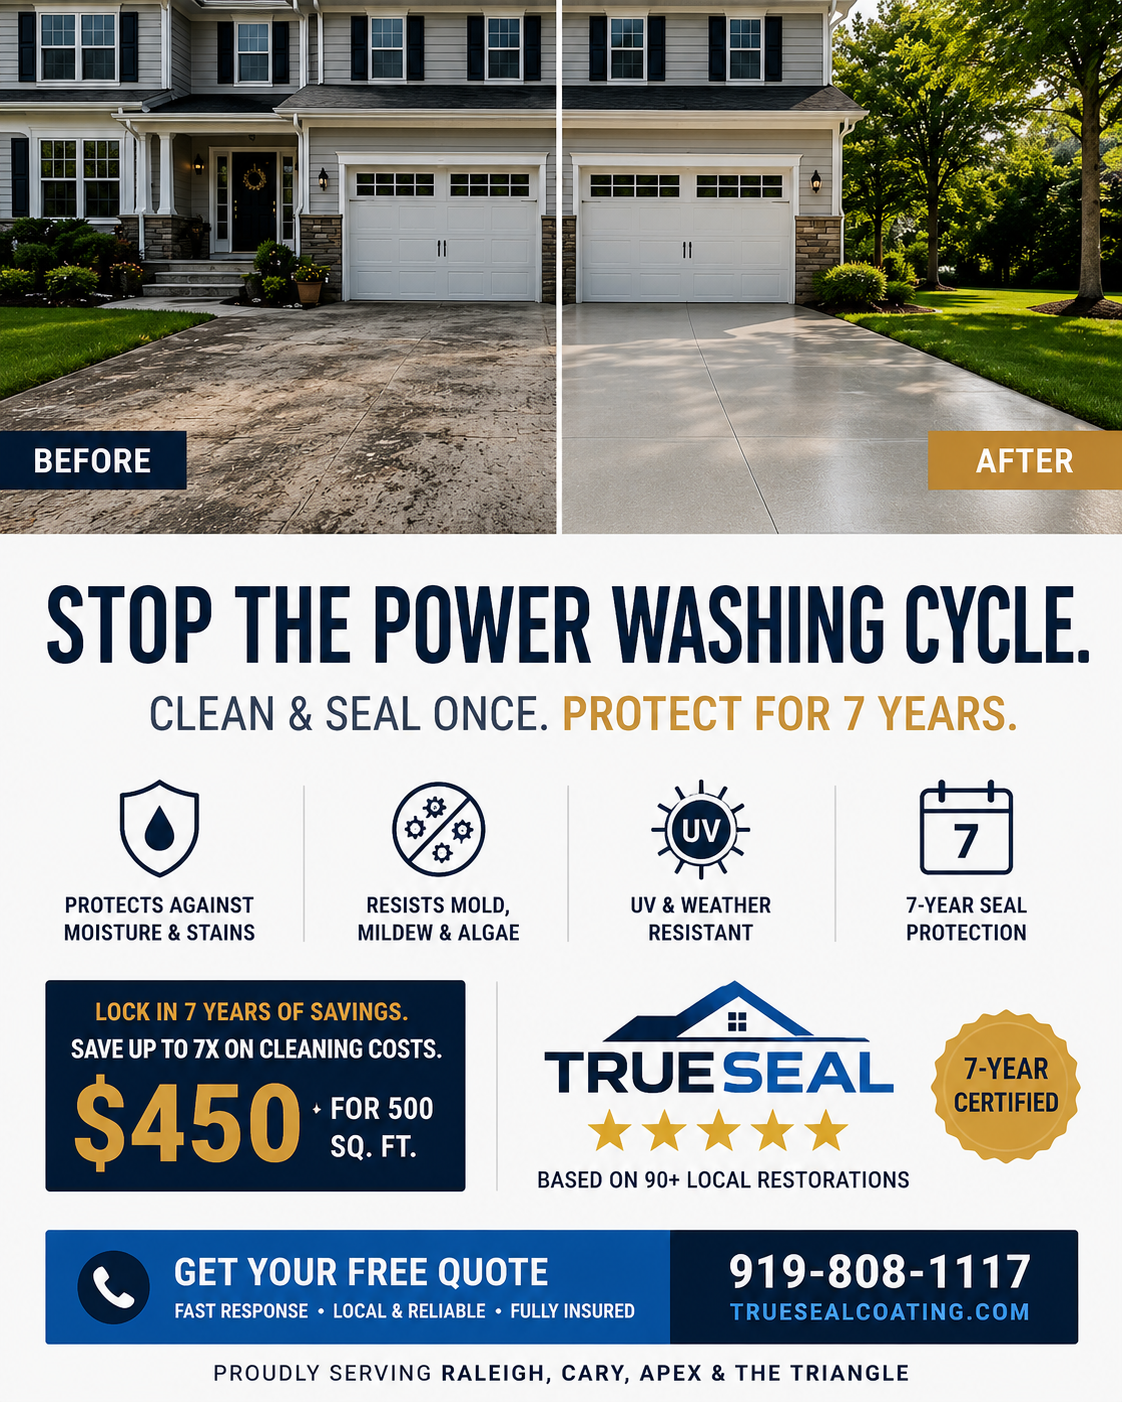
Our concrete and pavement sealing services include professional surface cleaning, moisture testing, sealer selection matched to your slab and use-case, and application backed by a warranty. The remote assessment option means you can send photos and get a preliminary evaluation before anyone sets foot on your property. For driveways, patios, walkways, and commercial pavement, we bring the equipment, the expertise, and the documentation that a DIY job simply cannot replicate.
Ready to protect your slab correctly? Request a quote or schedule an assessment today.
Sources
The recommendations in this article draw from the following authoritative references:
FAQ
How long after pouring new concrete can you seal it?
Wait a minimum of 7 days, but 28 days is the standard recommendation for exterior slabs.
Can you seal concrete too early?
Yes. Sealing before the slab has finished releasing moisture traps water vapor under the sealer film, causing blistering, delamination, and a milky haze. These failures typically require a full strip and reapplication.
Do you have to wait 30 days to seal concrete?
The 28-day guideline is the widely accepted standard for exterior concrete, and Lowe’s consumer guidance recommends approximately one month. Some penetrating sealers can be applied to interior or low-traffic slabs at 7–14 days if moisture testing confirms readiness.
How long does 4 inches of concrete take to cure?
Cold weather or high humidity extends that timeline; always verify with a moisture test before sealing.
Comments